
Cloud and Docker – Set-up
3 min
To import data into Essential Cloud you need to create Import Settings
Setting up your data import(s) for the cloud.
Import Utility for Essential Cloud & Essential Docker
Setting Up the Import Utility
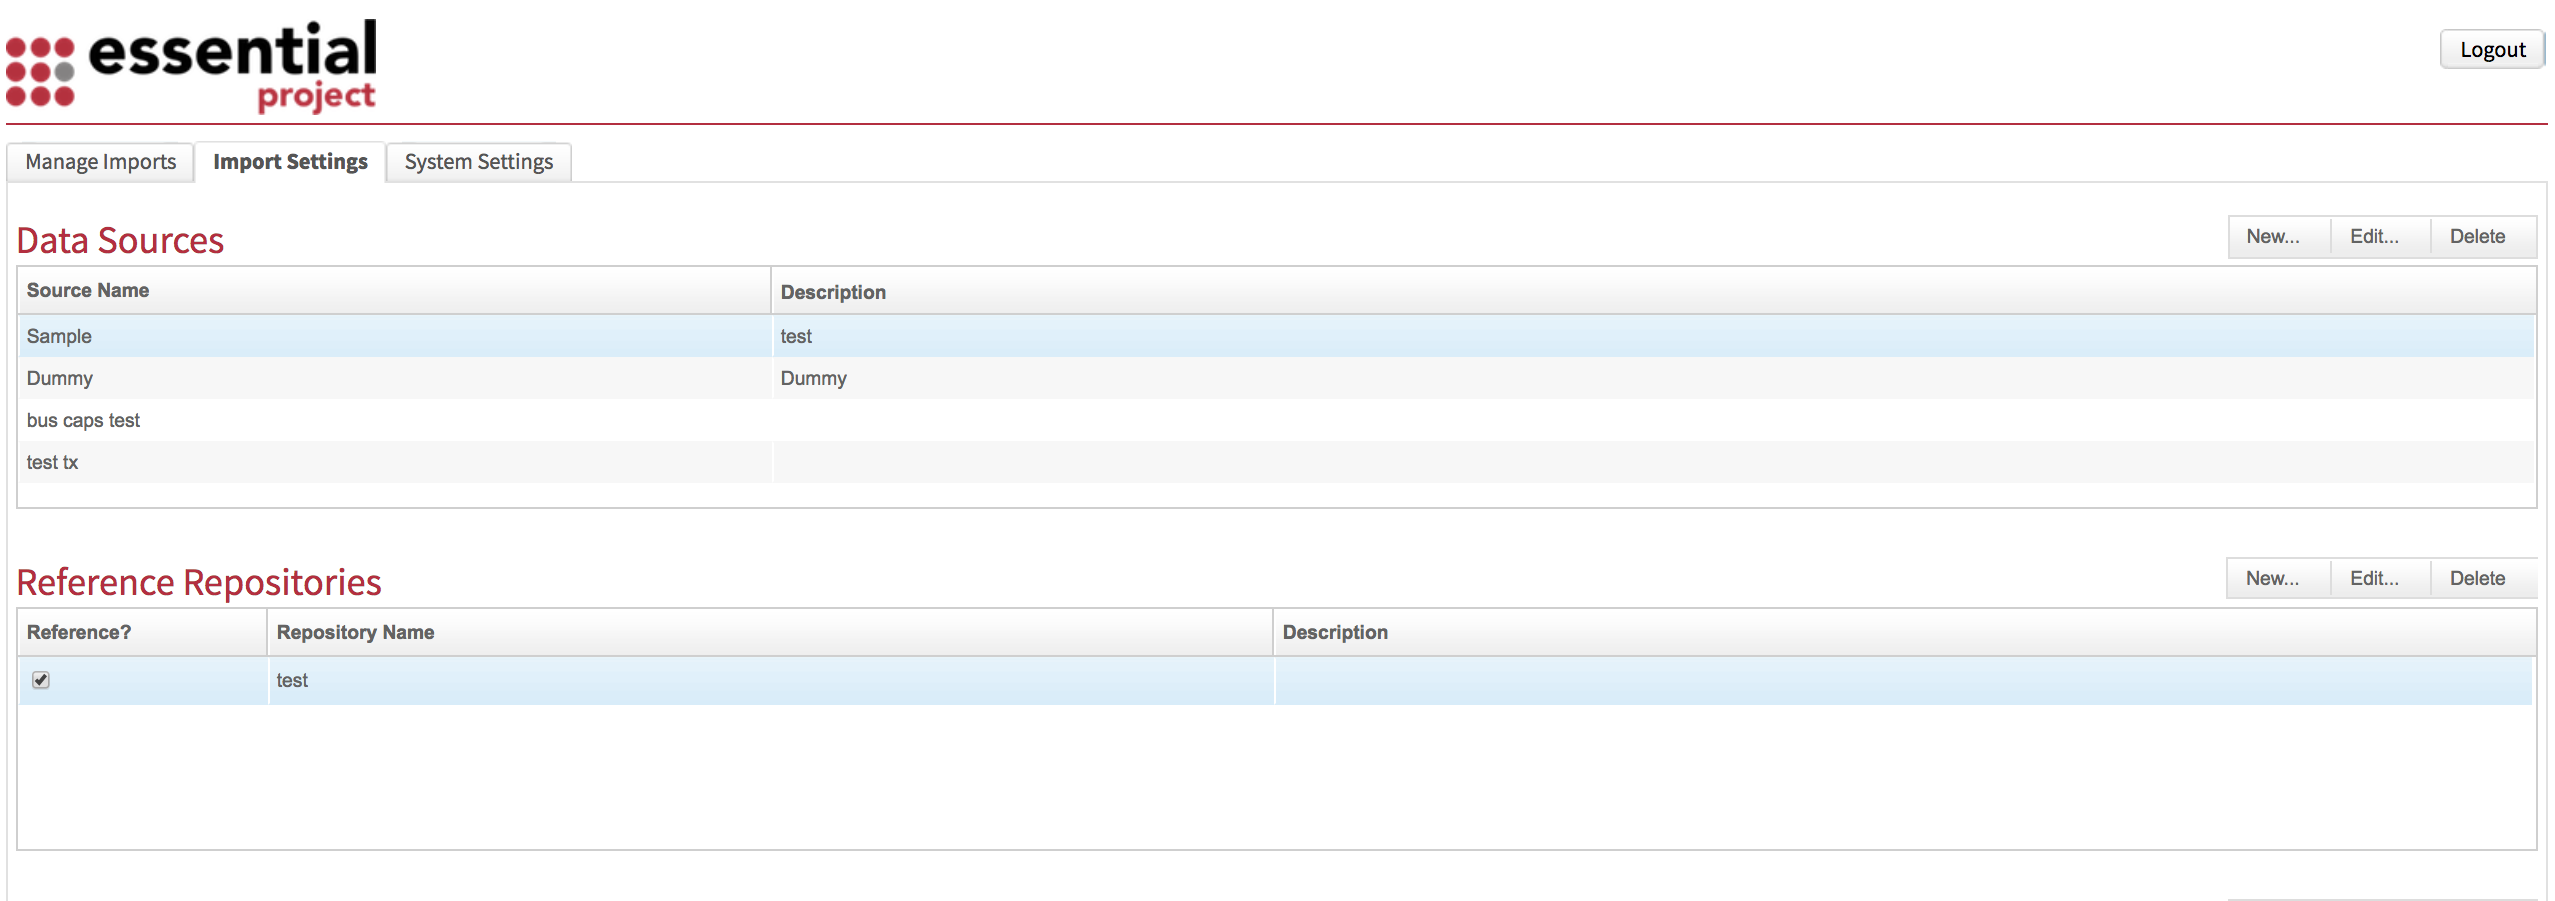
First, you need to set up the Import Utility. From the homepage click on the Import Settings tab

Step 1
Reference Repositories
FOR Cloud and Docker
To define a new import setting, set the Reference Repository ( Production, Pre Production or Sandbox) in which the import will be based on in terms of classes and slots defined by ticking the relevent checkbox . Click New. **

**NOTE: You only need to update the Reference Repository if new classes or slots are added to the meta-model. If you add a new one, make sure the Reference? box is ticked.
Step 2
Data Sources
To define a data source click New. In the ‘Create Source Repository’ window, add the name of the data source, usually a spreadsheet. Click OK.
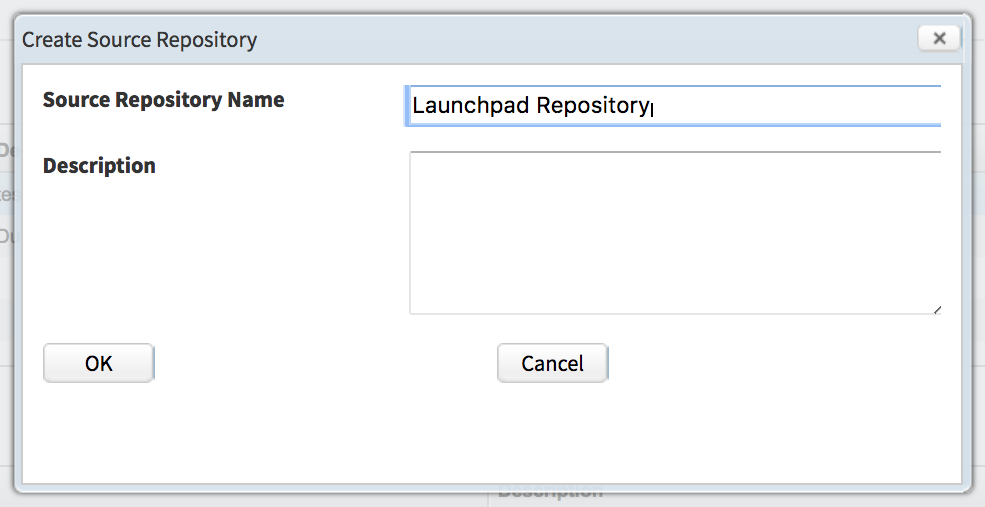
NOTE: You will need to add a new data source each time you want to create a new type of import.
Step 3
Go back to the homepage and select the Manage Imports tab.

To set up a new Import Activity Click New and the ‘Create Import Activity window will appear.
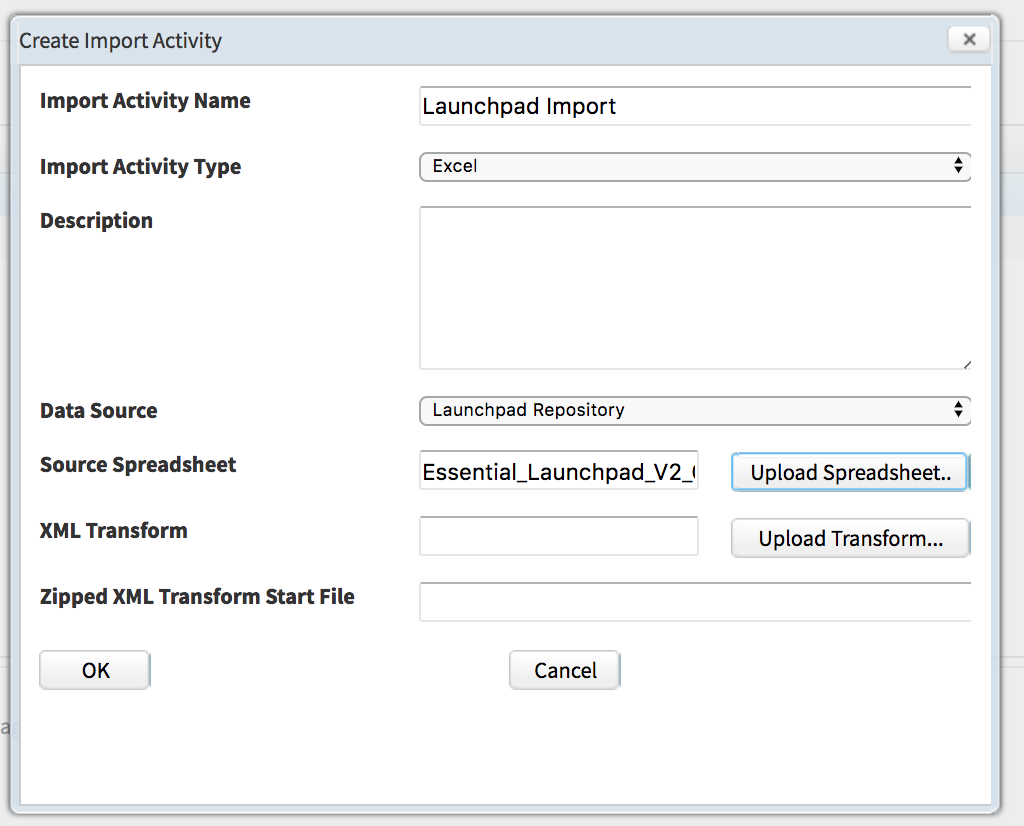
- Name the activity
- Select Excel as your import type
- Choose the Data Source you set up in Step 2
- Click Upload and navigate to and select the spreadsheet to be imported, e.g. the Launchpad spreadsheet
- Ignore the other fields and click OK
###
Updated 22 January 2024